In most screenwriting apps, you need to use a keystroke or menu to switch between different format elements before you start typing.
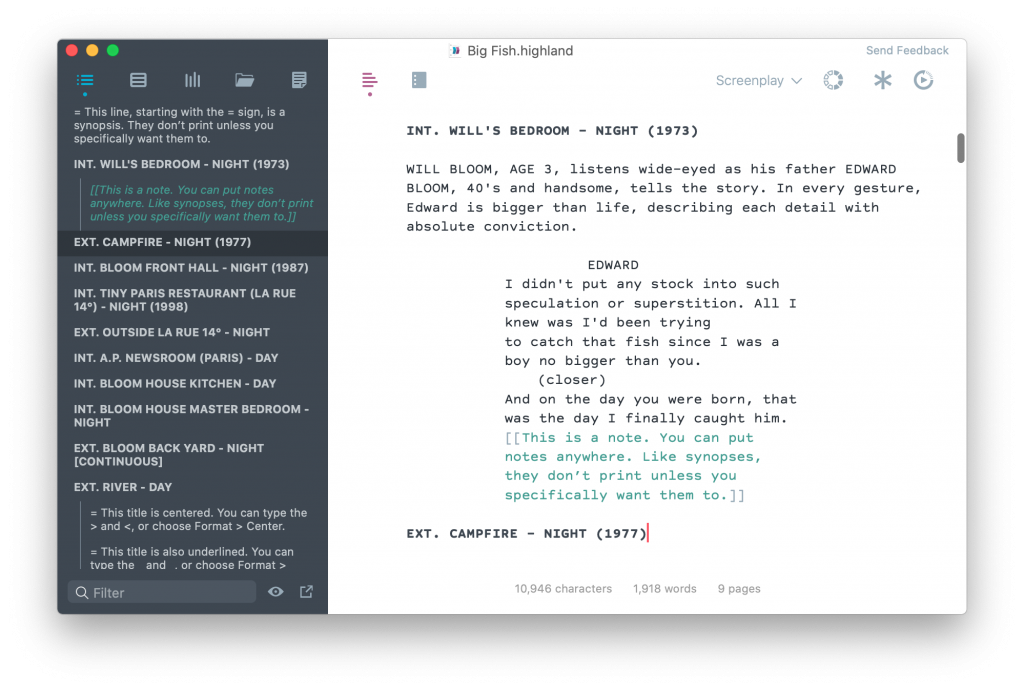
Highland lets you just write. It figures out your formatting as you go.
Let’s look at some basic screenplay formatting, and how Highland makes it work.
Action and Description
Just write.
Make sure you have a blank line between paragraphs.
Your typing shows up properly formatted as action and description.
In rare cases, you may have several uppercase lines stacked together for effect. To force Highland 2 to treat these as action lines rather than dialogue, add an exclamation point ! at the beginning of each line.
Scene Headings/Sluglines
Just write your scene heading, starting with EXT. or INT. Highland does the rest.
In Highland 2 > Preferences > Document (⌘ Command + ,), you can choose whether you want Highland to display your scene headers in bold, underlined, or double-spaced. You can even choose to have the app automatically capitalize INT. and EXT. as you type.
Highland 2 also auto-completes frequently used scene headings, remembering each of them as you add them to your screenplay.
To use a scene heading that doesn’t start with INT. or EXT., add a period at the beginning of the line. For example: .UNDER THE TABLE
Dialogue
Type a character’s name in ALL CAPS. Then write their dialogue on the line directly beneath it.
In Highland 2 > Preferences > Document (⌘ Command + ,), you can choose to have Highland auto-complete character names you’ve already written dialogue for in your screenplay.
If you turn on Live Margins (View > Live Margins or ⌘ Command + L), you’ll see an immediate preview in the Editor of what your formatted dialogue will look like.
Need a parenthetical? Just put it (in parentheses).
If your character’s name isn’t displaying properly, or if you have a name that requires upper-and-lowercase letters, you can put an @ symbol at the front to force highland to recognize it as a @CHARACTER
Transitions
Highland automatically recognizes most transitions (such as CUT TO: or DISSOLVE TO:) if you write them in ALL CAPS and put a : at the end. No tabs or right-alignment necessary.
You can force text to be formatted as a transition by starting or ending a line with >
And there’s more that Highland can do!
Select Help > Cheat Sheet to see a quick reference guide for how Highland handles formatting.
You can also look at our Advanced Formatting section to learn some other tips and tricks for how to get the most out of writing in Highland!